Staking CSPR tokens to our validator node is an easy process and will earn you compounded interest paid in additional CSPR. Our validator node will use delegated tokens to validate transactions on the blockchain and thus earn rewards. From the total rewards earned using your tokens, we shall charge a fixed 3% fee. This fee will never increase…not tomorrow…not next week…not even in 10 years time. This way you can be confident in staking your tokens for long periods of time without having to worry about any potential hikes in commission. Staked tokens are never physically transferred to the validator and so ownership and control of the tokens always resides with the delegator.
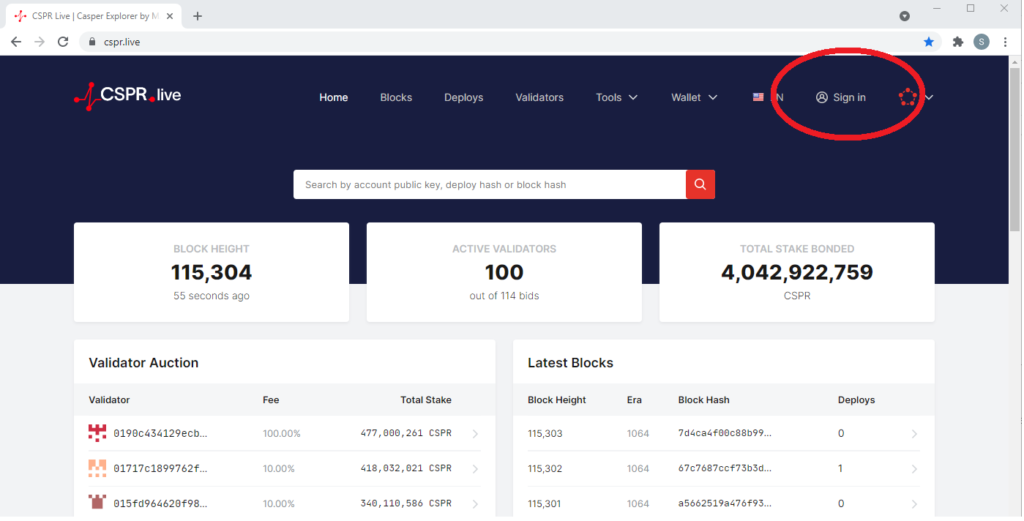
Staking (delegating) is managed through the https://cspr.live/ website, which can be accessed using Google Chrome. Within this site you can (1) view the balance of your wallet, (2) delegate/undelegated and (3) view your staking rewards. Once you navigate to cspr.live you will be presented with the below screen. Please select the ‘sign in’ option as highlighted in red below.
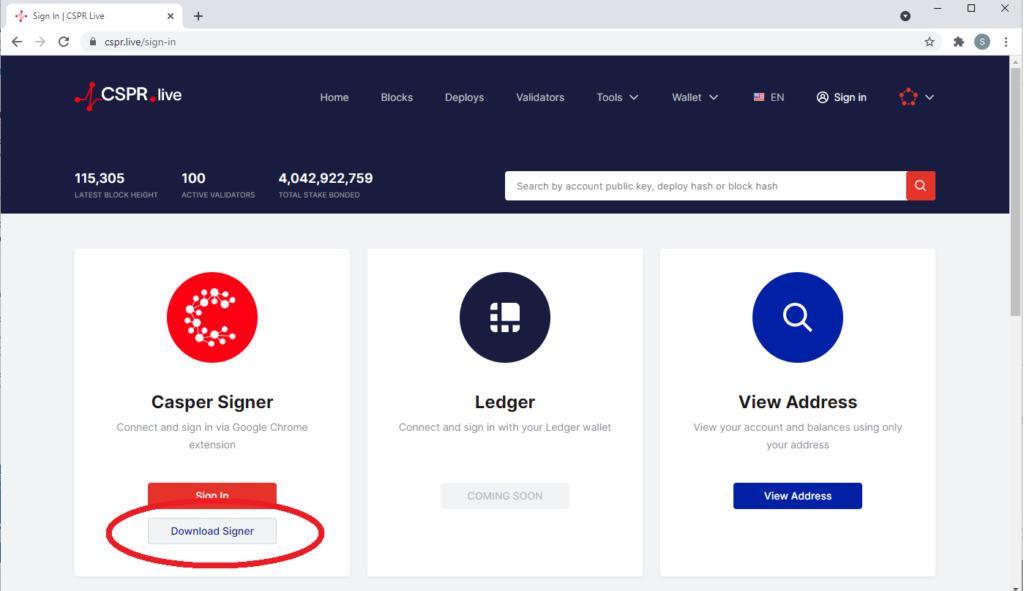
You will then be presented with the below screen. From this screen please select ‘Download Signer’. This is to download the Casper Signer Chrome wallet extension. The Casper Signer wallet is a Casper Wallet which can be connected to the cspr.live site.
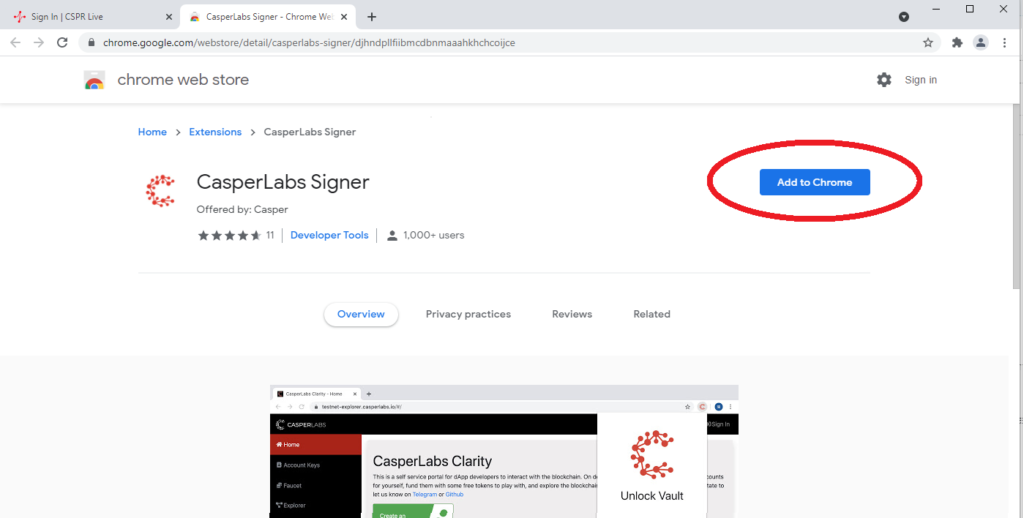
Upon selecting ‘Download Signer’ from the above, a second tab will open in Chrome which will allow you to download the wallet extension. From this screen please select ‘Add to Chrome’ as highlighted below in red.
Then confirm the download by selecting ‘Add extension’ in the pop-up box:
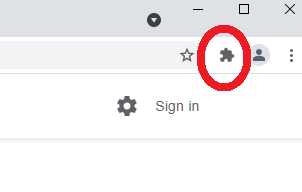
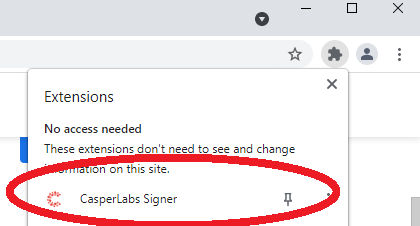
Selecting the above will download the Casper Signer wallet into your Google extensions. The wallet can therefore be viewed within you extensions. To access your Google extensions, please select the puzzle icon on the top right of the Chrome page, as highlighted below:
A drop-down will then appear showing all of your Chrome extensions. Here you will find the Casper Signer wallet. Please click on this to open the wallet@
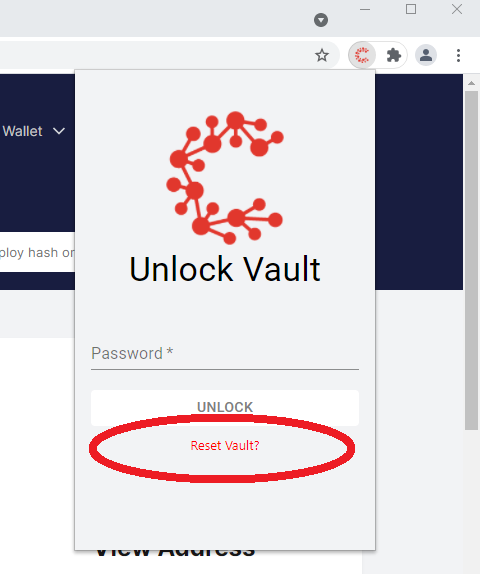
In opening the wallet, you will be presented with the below screen. At this point please press ‘reset vault’, as indicated below in red.
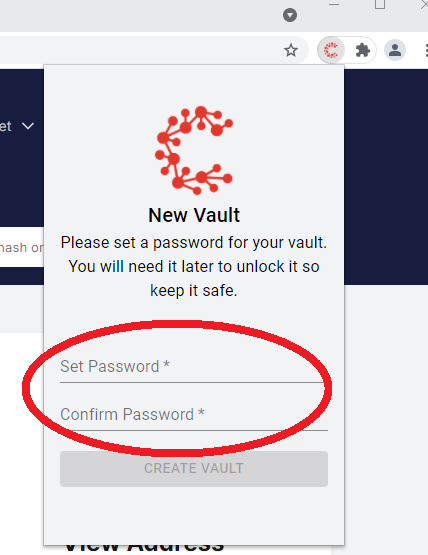
Now please enter a memorable passwords and confirm this password, as per the below:
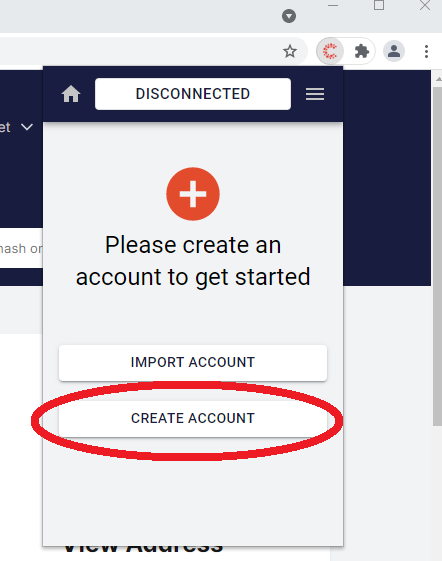
Now that we have Casper Signer installed and set up, we will next need to create a wallet within the Signer. To do this, please select ‘Create Account’ as highlighted below:
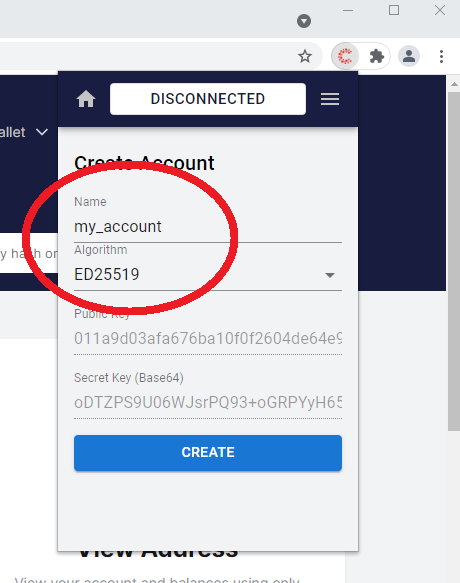
After selecting ‘create account’ you will be presented with the following screen. Within this screen you will need to (1) provide a name for the wallet account, which can be anything you like – you will note in the example below I have named the wallet “my_account” , and (2) choose which algorithm to use. We recommend selecting the first as per the below image:
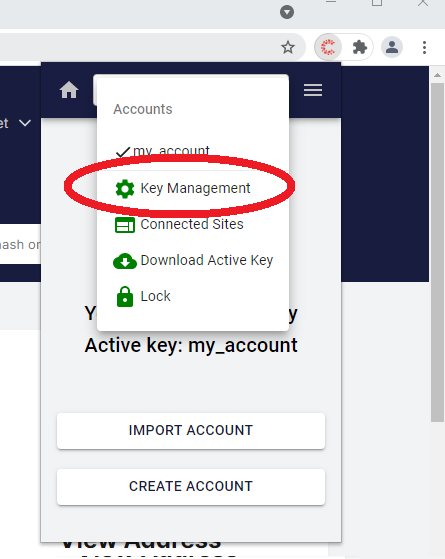
Congratulations! You have successfully created a Casper Signer wallet. Next, lets find out (1) what the wallet address (this is the address where you would send CSPR tokens to from an exchange) and (2) how to backup our wallet keys (in case we forget the password or machine is corrupted). First, select the three horizonal lines on the top right of the wallet and then choose ‘Key Management’, as per below:
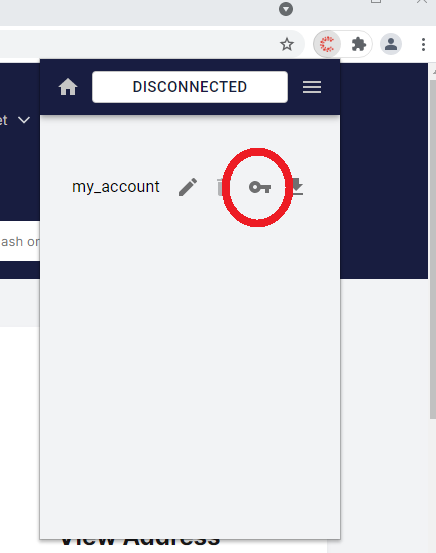
Then select the key icon as per helow:
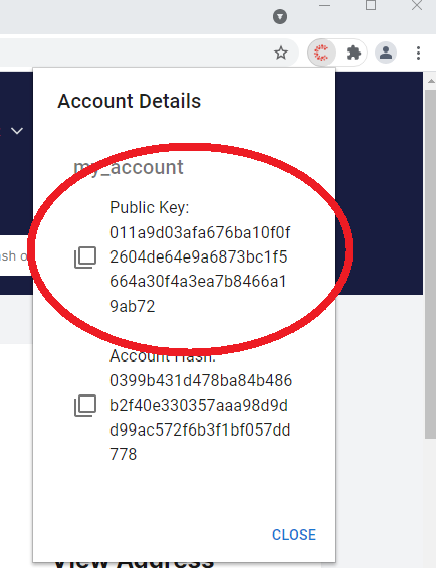
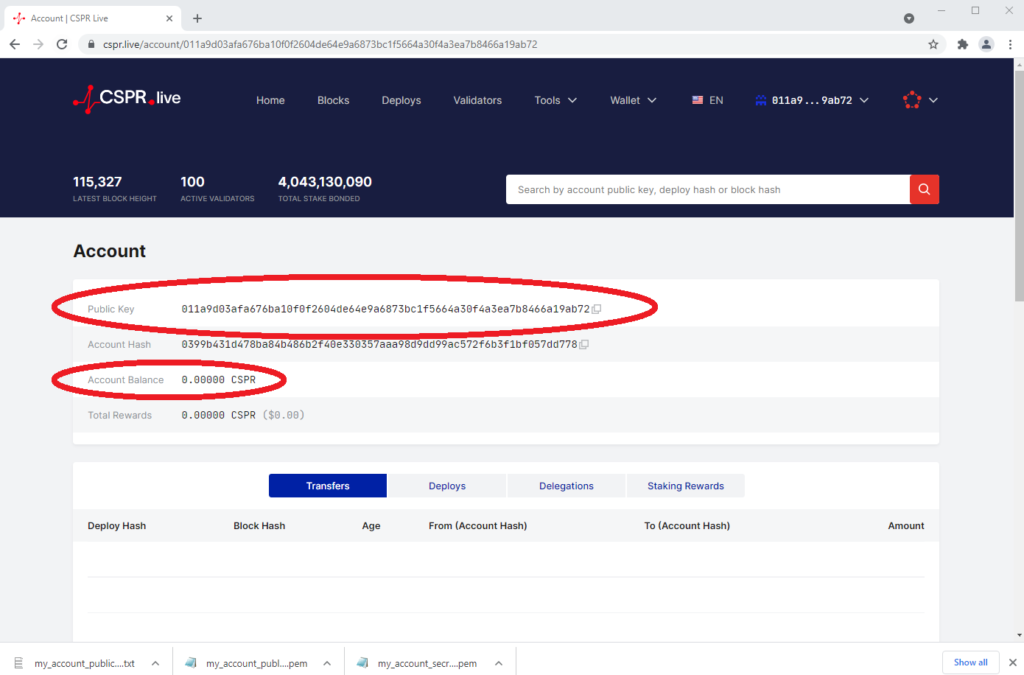
You will then be presented with your (1) Public Key and your (2) Account Hash. Please note your public key is your wallet address – this is where you can transfer your CSPR token to, from an exchange
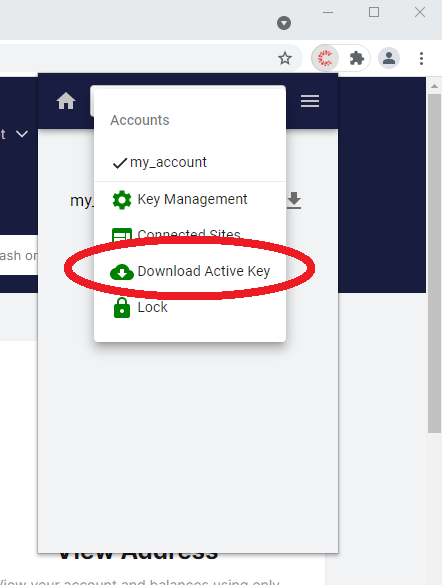
Now lets backup your keys. In order to do this, again press on the horizonal three lines on the top right of the Casper Signer extension and then select ‘Download Active Key’:
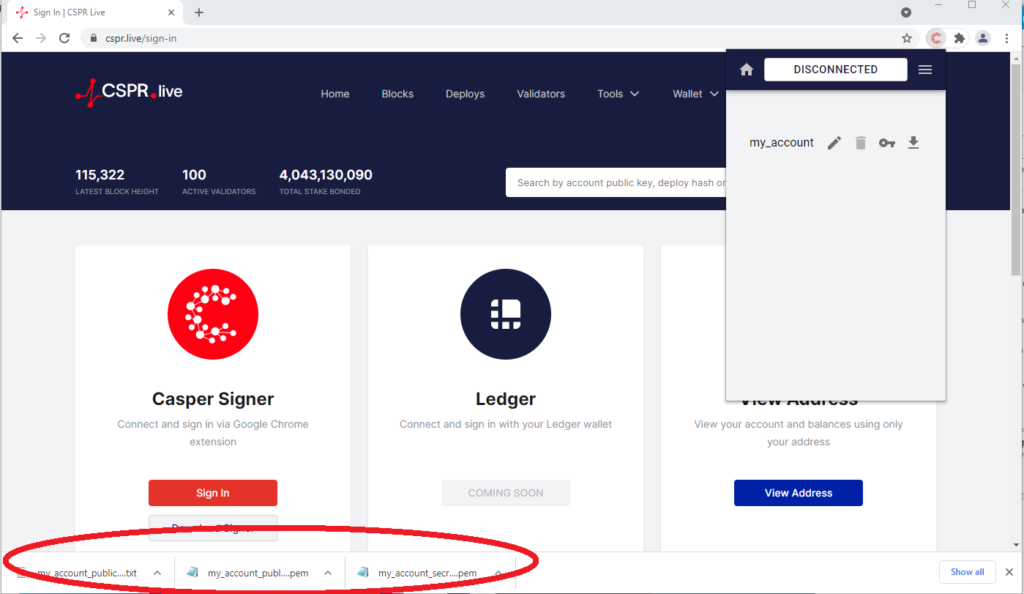
After selecting ‘Download Active Key’, as described above, three files will be downloaded onto your machine. Note that one of the files is a standard .txt file, and two files are .pem. It is very important that you save these files somewhere secure (in particular your secret key as this is what will be required to geneate the wallet again if you lose your password). You can view all 3 downloaded files by selecteding the up arrow of any of the files (highlighted in red below) and then choosing ‘view in folder’. A new windows explorer window will then open showing all 3 downloaded files. We recommend copying these files to a UBS stick and storing somewhere secure.
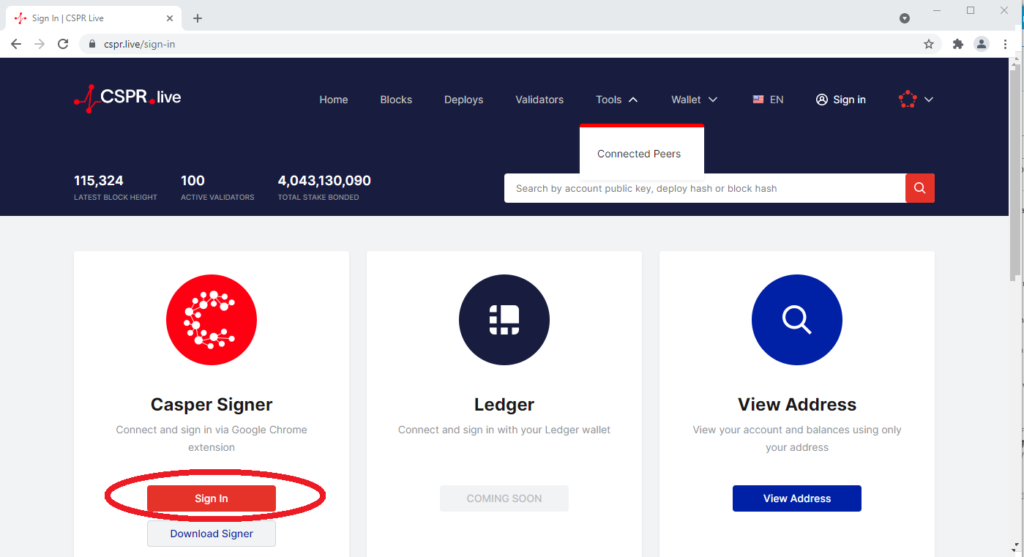
Now we have our Casper Signer installed, wallet created and keys safely backed up, we can sign into cspr.live and connect the wallet. In the screen below, please select ‘sign in’:
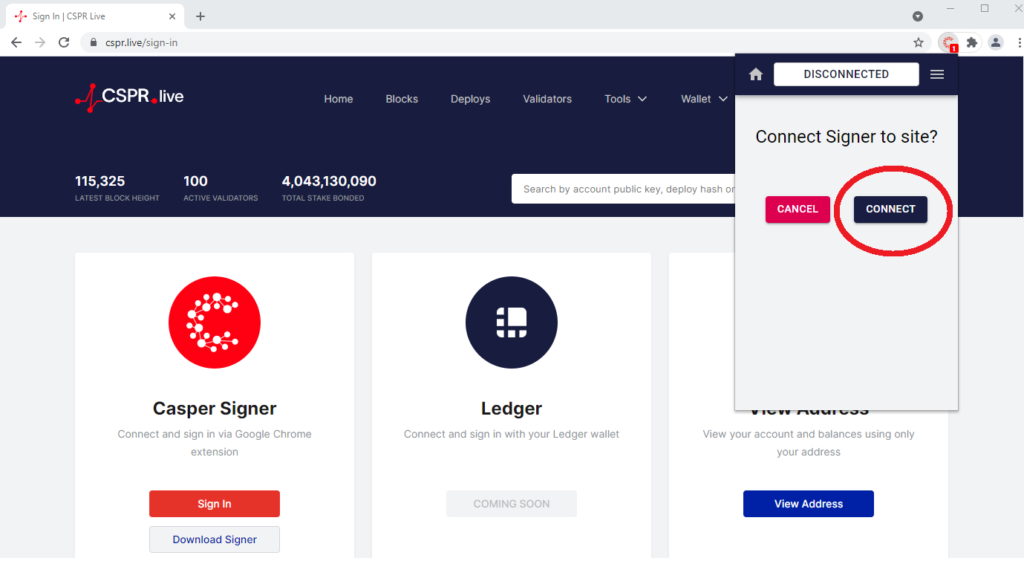
After selecting ‘sign in’, the Casper Signer extension will open and as you to confirm connection. Please select ‘Connect’ on the Casper Signer as indicated below:
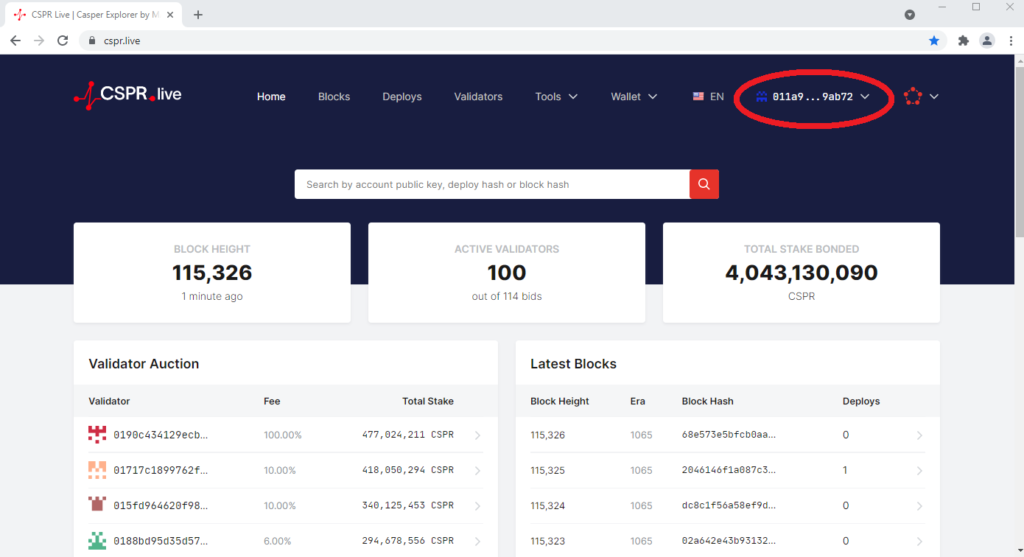
Great, you have now successfully connected your wallet to the cspr.live portal. You will now see your wallet address on the top right of the screen. Please see below:
Next, please click on your wallet in the top right to open it up. You will then be presented with the below screen, detailing your wallet and balances:
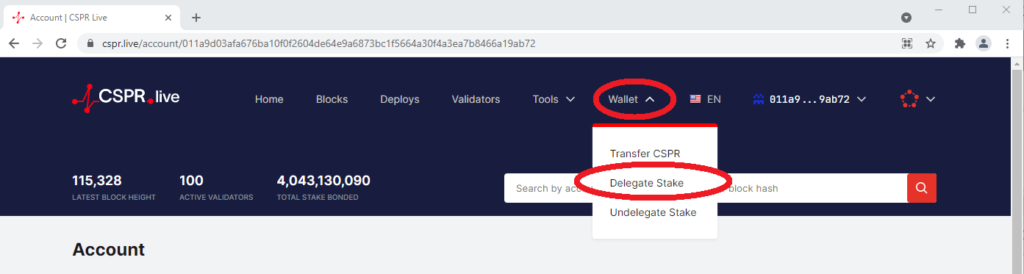
In the example above we can see our wallet address and also the balance of the wallet. Before delegating, you must first fund your wallet with CSPR tokens. Please transfer your CSPR tokens to your public. If when transferring you are required to enter a ‘transfer id’, please set this to 0. Once your account is funded you can then delegate. In order to delegate your CSPR tokens please select the ‘Wallet’ option on the top of the screen and then choose ‘Delegate Stake’
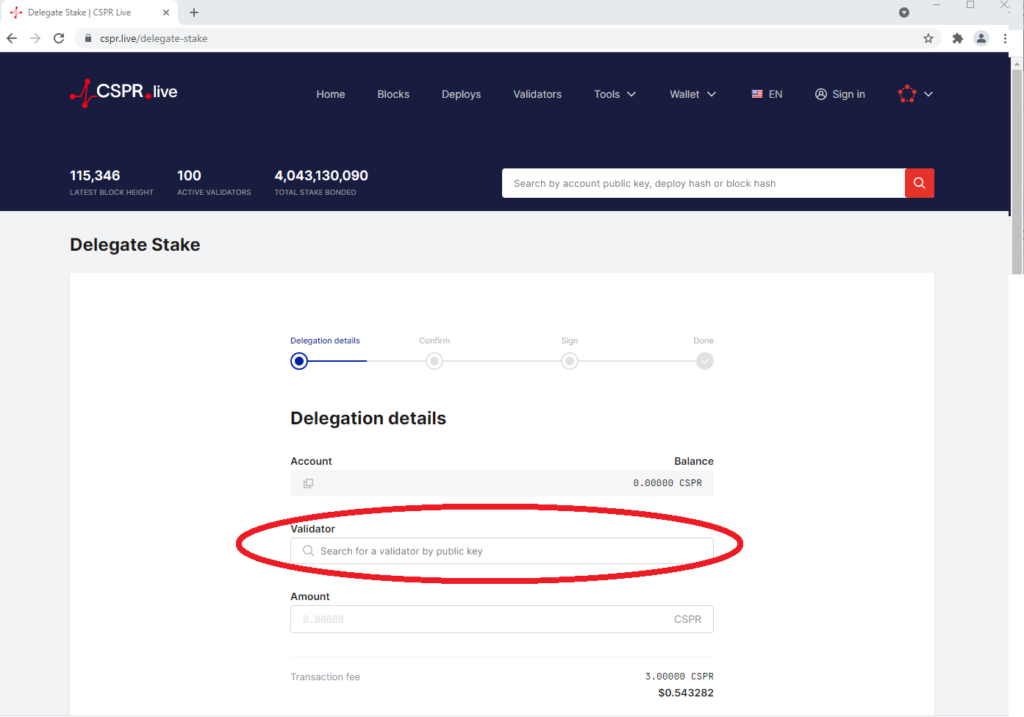
You will then be presented with the following screen where you can choose a validator to delegate to and also select an amount you would like to delegate. Please note there is a fee to delegate, which is approximately 3 CSPR tokens. We therefore recommend only delegating a maximum of your account balance minus 3 CSPR to ensure the transaction does not fail. Please also note our validator node can be found below:
SECONDARY NODE (OPEN – ACCEPTING NEW DELEGATORS!): NODE